Tasmota
Download Tasmota Software Completely Free! 1# Software for Smart Home Integration

What is Tasmota?
Tasmota is an open source firmware for all ESP devices. This excellently flexible and expandable firmware allows you to full local control along with benefits of regular updates and quick setup. It can be easily integrated with home automation solutions and you can automate using rules, timers and scripts. You can easily control Tasmota with MQTT, Web UI, HTTP or serial.
Tasmota Features
Tasmota comes with a large number of features and supported peripherals (sensors, controllers, etc.). Due to ESP flash size and memory limitations, not all features can be included in the released compiled binaries.
You must compile your own binaries to enable some features. Features with such requirements will have warnings showing how to enable them.
Compiling
Flash and storage space on ESP82XX chips is limited and at a premium. For this reason, pre-compiled binaries include the most popular features of Tasmota, but not all builds.
To include the features you want (or create a fully customized Tasmota) you need to configure and compile your own version.
First you need the Tasmota source code (development branch or master branch) and compilation tools.
Compiling Tools
For modifying default settings or codes you can use the compiling tools below:
- PlatformIO – PlatformIO setup and configuration for compiling and uploading Tasmota.
- PlatformIO CLI – Flashing Tasmota using PlatformIO CLI on Linux.
- PlatformIO-Core – Automating firmware builds with PlatformIO core and with esptool Flash.
- Visual Studio Code – Set up and configure Visual Studio Code with PlatformIO for Tasmota.
- Docker Tasmota – Compile from a Docker container with PlatformIO.
Online Compilers
Tasmocompiler:
This easy web GUI is used for compiling Tasmota along with your preferred settings.
Gitpod:
It lets you compile your binary in the cloud.
Gitpod is the easiest way to compile as it only needs a web browser to function.
After setting up the development environment, you must unzip the source code in a folder.
Customize your Build
The main Customization types are :
- Change the default settings used when Tasmota is first run on a blank device (no existing configuration flashed or flash-erased). This can be done with any variant as it doesn’t change the code base, memory footprint or required libraries. Such customizations include default Wi-Fi settings, default his MQTT settings, and default values for settings including Set Option.
- Add or remove features. This is basically only supported in the base environment tasmota/tasmota32. Other variants have been tweaked and attempting to add/remove functionality to them will likely fail and the Tasmota development team will not provide assistance. A typical error is when trying to add a sensor to tasmota-display or a display to tasmota-sensors. The correct way is to add both the sensor and the display to Tasmota.
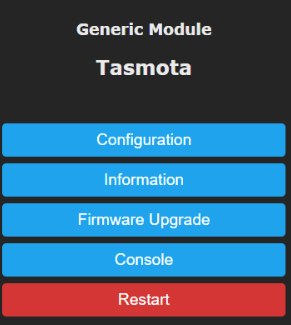
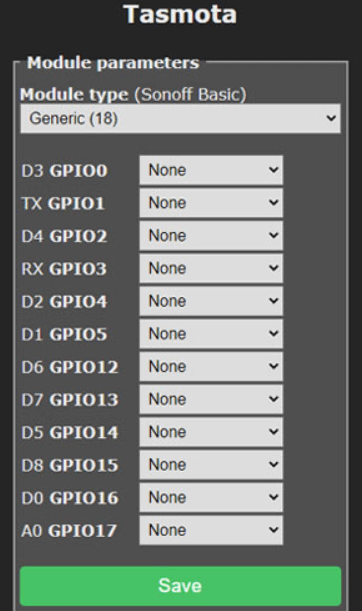
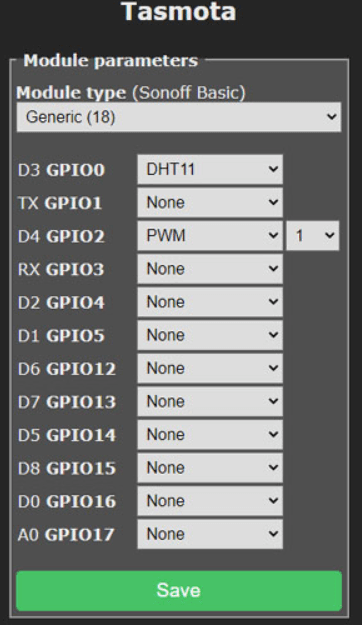
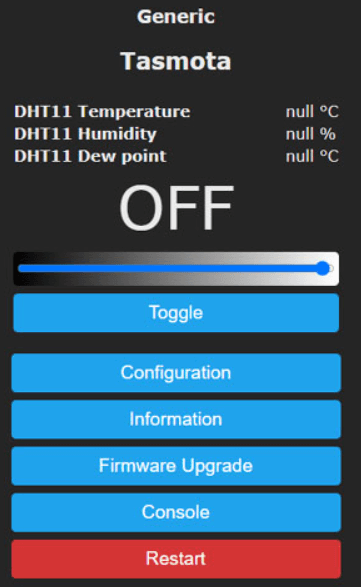
Tasmota Screenshots
What is the General Customization Principle?
Create a new file named user_config_override.h in the Tasmota folder. You can copy the existing sample file user_config_override_sample.h which contains sample definitions for encoding your own WiFi SSID and password in Tasmota firmware.
Open the file for editing in the development environment of your choice.
Downloading/cloning a newer version of the Tasmota codebase will overwrite any changes made there, so it is highly recommended that you do not modify my_user_config.h to customize your build. At the very least, this complicates merging. Add custom configurations only to user_config_override.h. The my_user_config.h file is a good reference of available settings and features.
Also check:
Delta: Best Roblox exploits this is one of the leading executor for Roblox on Mobile download delta executor and enjoy.
Fluxus: Fluxus is one of the oldest and working Roblox executor download fluxus executor from the official website fluxus.mobi.
Delta Executor: Currently this is best Roblox executor available, delta executor comes with multiple features.
Bloxstrap: Are you looking for tool to optimize Roblox then bloxstrap is best.
Codex: Codex is a popular Roblox exploits download and enjoy,
Appleware: One of the finest executor for iPhone download appleware.
Natro Macro: If you are looking for Macro for Bee Swarm Simulator Roblox game then Natro macro is of the best.
How To Change Default Settings?
Most default settings are defined in my_user_config.h, which also contains descriptions and commands used to change them dynamically.
How To Enable A Feature In Tasmota?
Features can be activated by #defining the appropriate USE_featurename macro. The same macro can be disabled by #undefining it. All functions and their IDs can be found in my_user_config.h.
Advanced Customization
USER_BACKLOG allows you to automatically run a set of commands when the binary is first run on an empty device (no settings in flash) or after reset 1/reset 2 resets the settings. It should be defined to be replaced as a list of individual commands. by;. No backlog command is required. For example, it can be used for settings that don’t have a modifiable preset. An interesting use case is to automatically reconfigure the device from a saved configuration file immediately after reset 1/reset 2.
User Rule
If you want some rules to be automatically inserted into your binary, you can define USER_RULE.
Defining Multiple Custom Firmwares
You may want to generate some custom firmware. One for switches/relays and one for sensors, similar to how Tasmota provides different binaries. This is very easy to achieve.
- Rename the file :
platformio_override_sample.ini to platformio_override.ini. Do not change anything inside.
- Create a file :
platformio_tasmota_cenv.ini file similar to the following example. This allows you to define your own binary. cenv stands for Custom ENVironment, the environment is the specific binary that is generated.
- In user_config_override.h, you can create sections with specific settings for each firmware type. SSID and MQTT can be outside the section, so it applies to all binaries.
- Here you will get Switch Roms totally free, we are giving direct download joins without advertisements you can download effectively NSP and XCI formate for emulators like Egg Ns, Yuzu, Ryjunux, Horizon, Strato Emu, and so on.